What's new in EasyPatt
Features, improvements, and fixes shipping into the editor — newest first.
-
Watermark your PDF exports
Protect shared patterns with a watermark stamped faintly and diagonally across every page of your exported PDF — your shop name or handle as text, or your logo as an image. Faint enough to still cut from. Sign in, set it up once in Watermark settings, and it applies to every export.
-
Upload images — reference photos and printable decoration
Pick the new Image tool (or press I) and the sidebar swaps to your image gallery with an Upload button. Drag a file in, paste a screenshot, or drop a gallery tile on the canvas to insert.
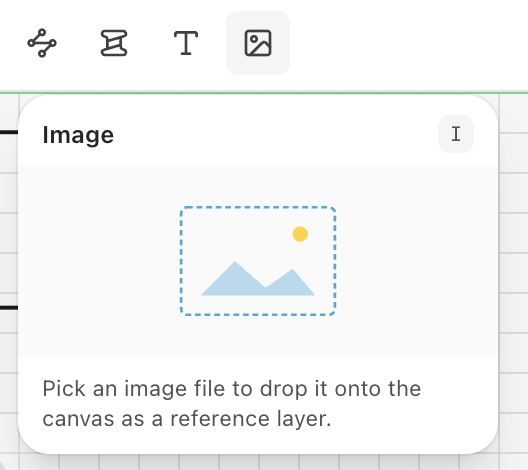
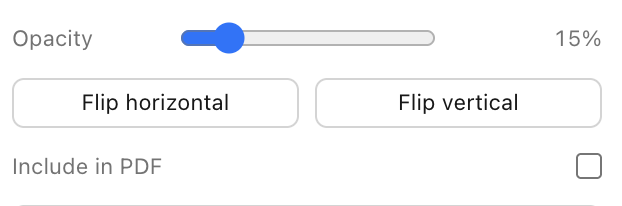
Each image has Opacity, Flip, and an “Include in PDF” toggle. Off (the default) keeps reference photos canvas-only so you can trace over a phone shot; on flows the image through to your exported PDF.
-
Fitting stitch mode — corners always land on a hole
Pick Fitting in the stitch sidebar and the panel resizes itself so the spacing stays exact and the first and last hole sit precisely at the corner inset. Works on rectangles and rounded rectangles, including per-corner radii like a D-shape with one rounded side and one flat side.
Spacing, edge inset, distribution, and the new per-end “Inset at start / end” inputs all re-fit the host live as you change them. Dragging a side of a Fitting-hosted shape (or typing a new width/height) snaps continuously to the nearest valid size so the rule never breaks.
When both ends of an open stitch line abut the same adjacent edge — like a D-shape going bottom→right→top with a flat left side — the two inset inputs auto-link (a small chain icon appears). Editing one updates the other so the shape stays symmetric without nudging its width.

-
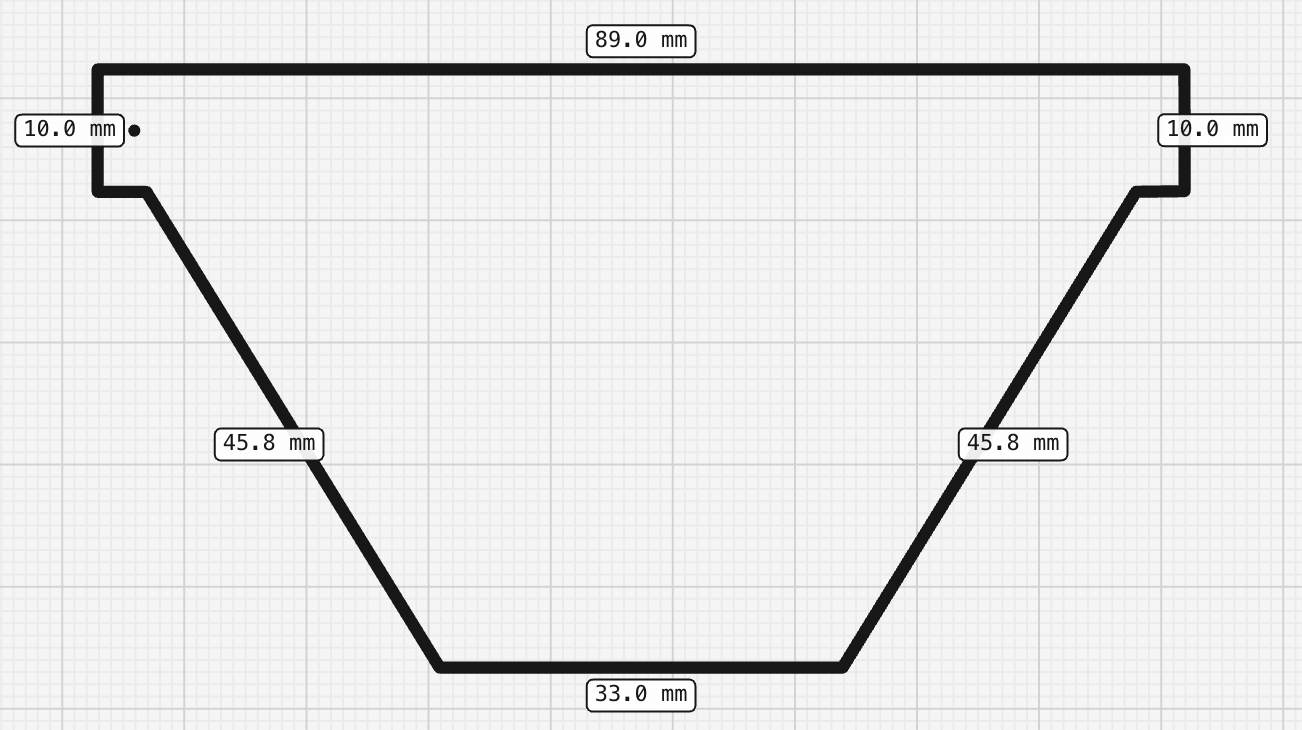
See the length of every side at a glance
Select any shape and flip on “Show measurements” in the properties panel — each side gets a small label with its length right on the canvas.
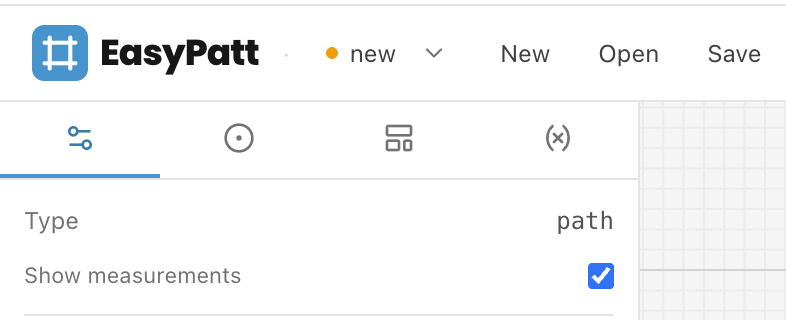
Works on rectangles, rounded rectangles, circles (diameter), lines, and free-drawn paths. The labels update live as you resize.
-
Pick from 250+ Google fonts for text labels
Text labels can now use any of ~250 Google fonts. Pick one from the Font dropdown in the left-side properties — each option previews the look.
-
New export — page boundaries on the canvas
The Export button now opens a small popover with format / page size / orientation / Download, and draws the print page boundaries directly on the canvas so you can drag shapes against the print layout while editing. Tiled PDF and single-page PDF both show a 10 mm margin band and a dashed inner cut line on every printed sheet. PNG export was retired — use single-page PDF for sharing previews.
-
Save your projects to the cloud
Sign in and save as many projects as you want to your account. Switch between them from the project menu — they autosave as you work and follow you to any device you sign in on.
-
Public Library for shape templates
You can now publish your saved shape templates so other leather makers can browse and import them. Open the Library from the top bar to see what others have shared. Sign in to publish your own.
-
Hole-count badge for stitch lines
Click a committed stitch line with the Stitch tool, or open the stitch preview, to see the total number of holes it generates.