
- Help
- Printing and saving
Printing to scale
Export turns your pattern into a PDF at true size. Print it on a home printer across as many sheets as it needs, or on one large sheet, and check it with the 50 mm square before you cut.
Export a PDF
- Click Export at the top right. The pages appear on the canvas, around your pattern.
- Under Format, pick Tiled PDF for a home printer or Single for one large sheet.
- Pick the Page size and the Orientation.
- Click Download tiled PDF, or Download PDF for a single sheet. The PDF is saved to your downloads.
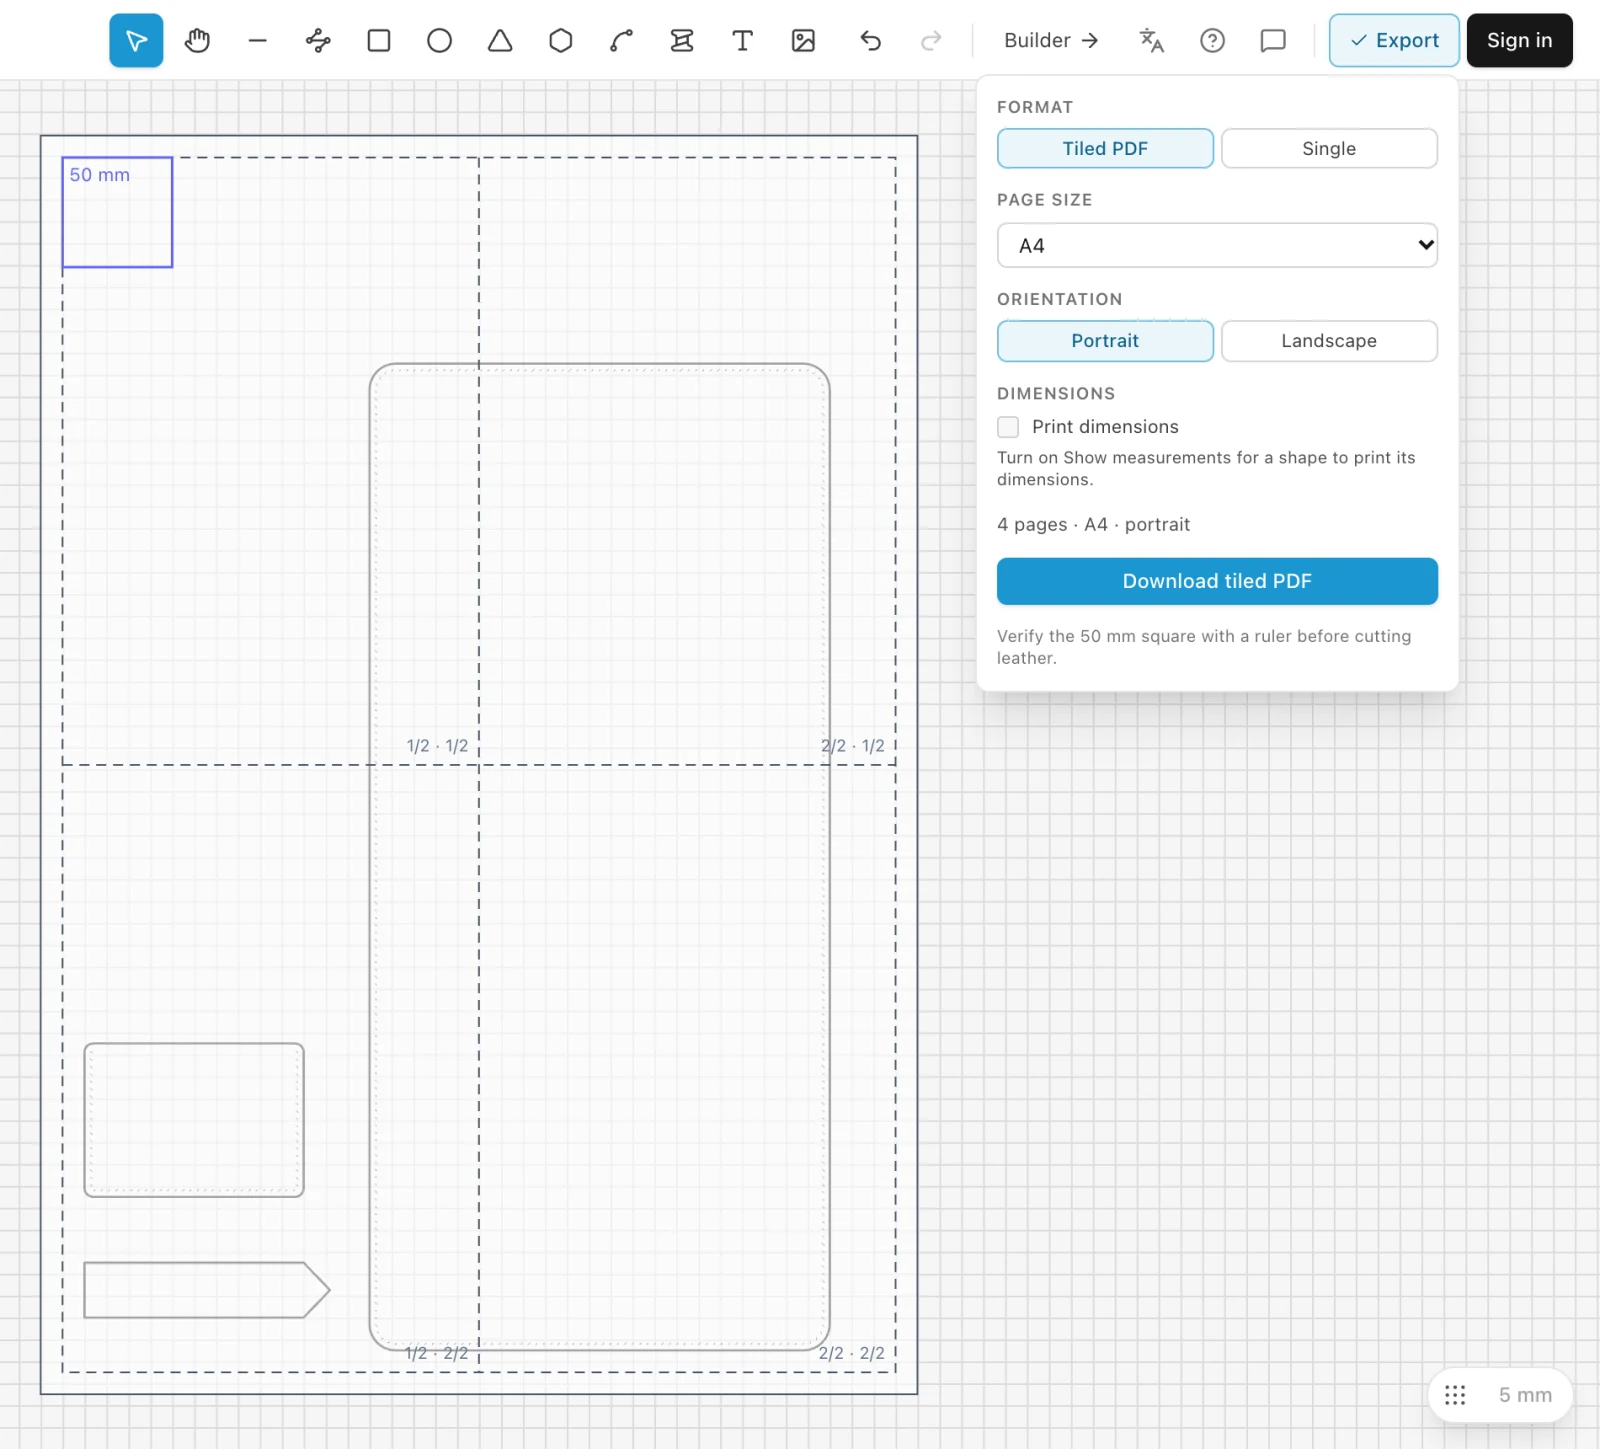
You can keep working while the pages are shown: move a part and the sheets follow. Arrange the parts close together to print on fewer sheets. Press Esc or click Export again to hide the pages.
Tiled or single sheet
- Tiled PDF
- The pattern split across A4, Letter or A3 sheets that you print at home and join. The sheets meet exactly, without overlap.
- Single
- The whole pattern on one sheet, from A4 up to A0, for a print shop or a large printer. Auto-fit picks the smallest sheet it fits on.
The summary under the options says how many pages you get. If the pattern is too big for the chosen single sheet, pick a larger size or use the tiled PDF.
Print at true size
- Open the PDF and print it at 100 % (called “Actual size” in some programs). Turn off “Fit to page” and any scaling.
- Print the first page on its own and measure the 50 mm square on it with a steel ruler.
- If it measures 50 mm, print the rest. If not, look at the printer settings again before you print anything else.
A wrong scale is nearly always the print dialog shrinking the page to fit the printer’s margins. How to print leather patterns to scale at home goes through the settings for each system.
Join the sheets
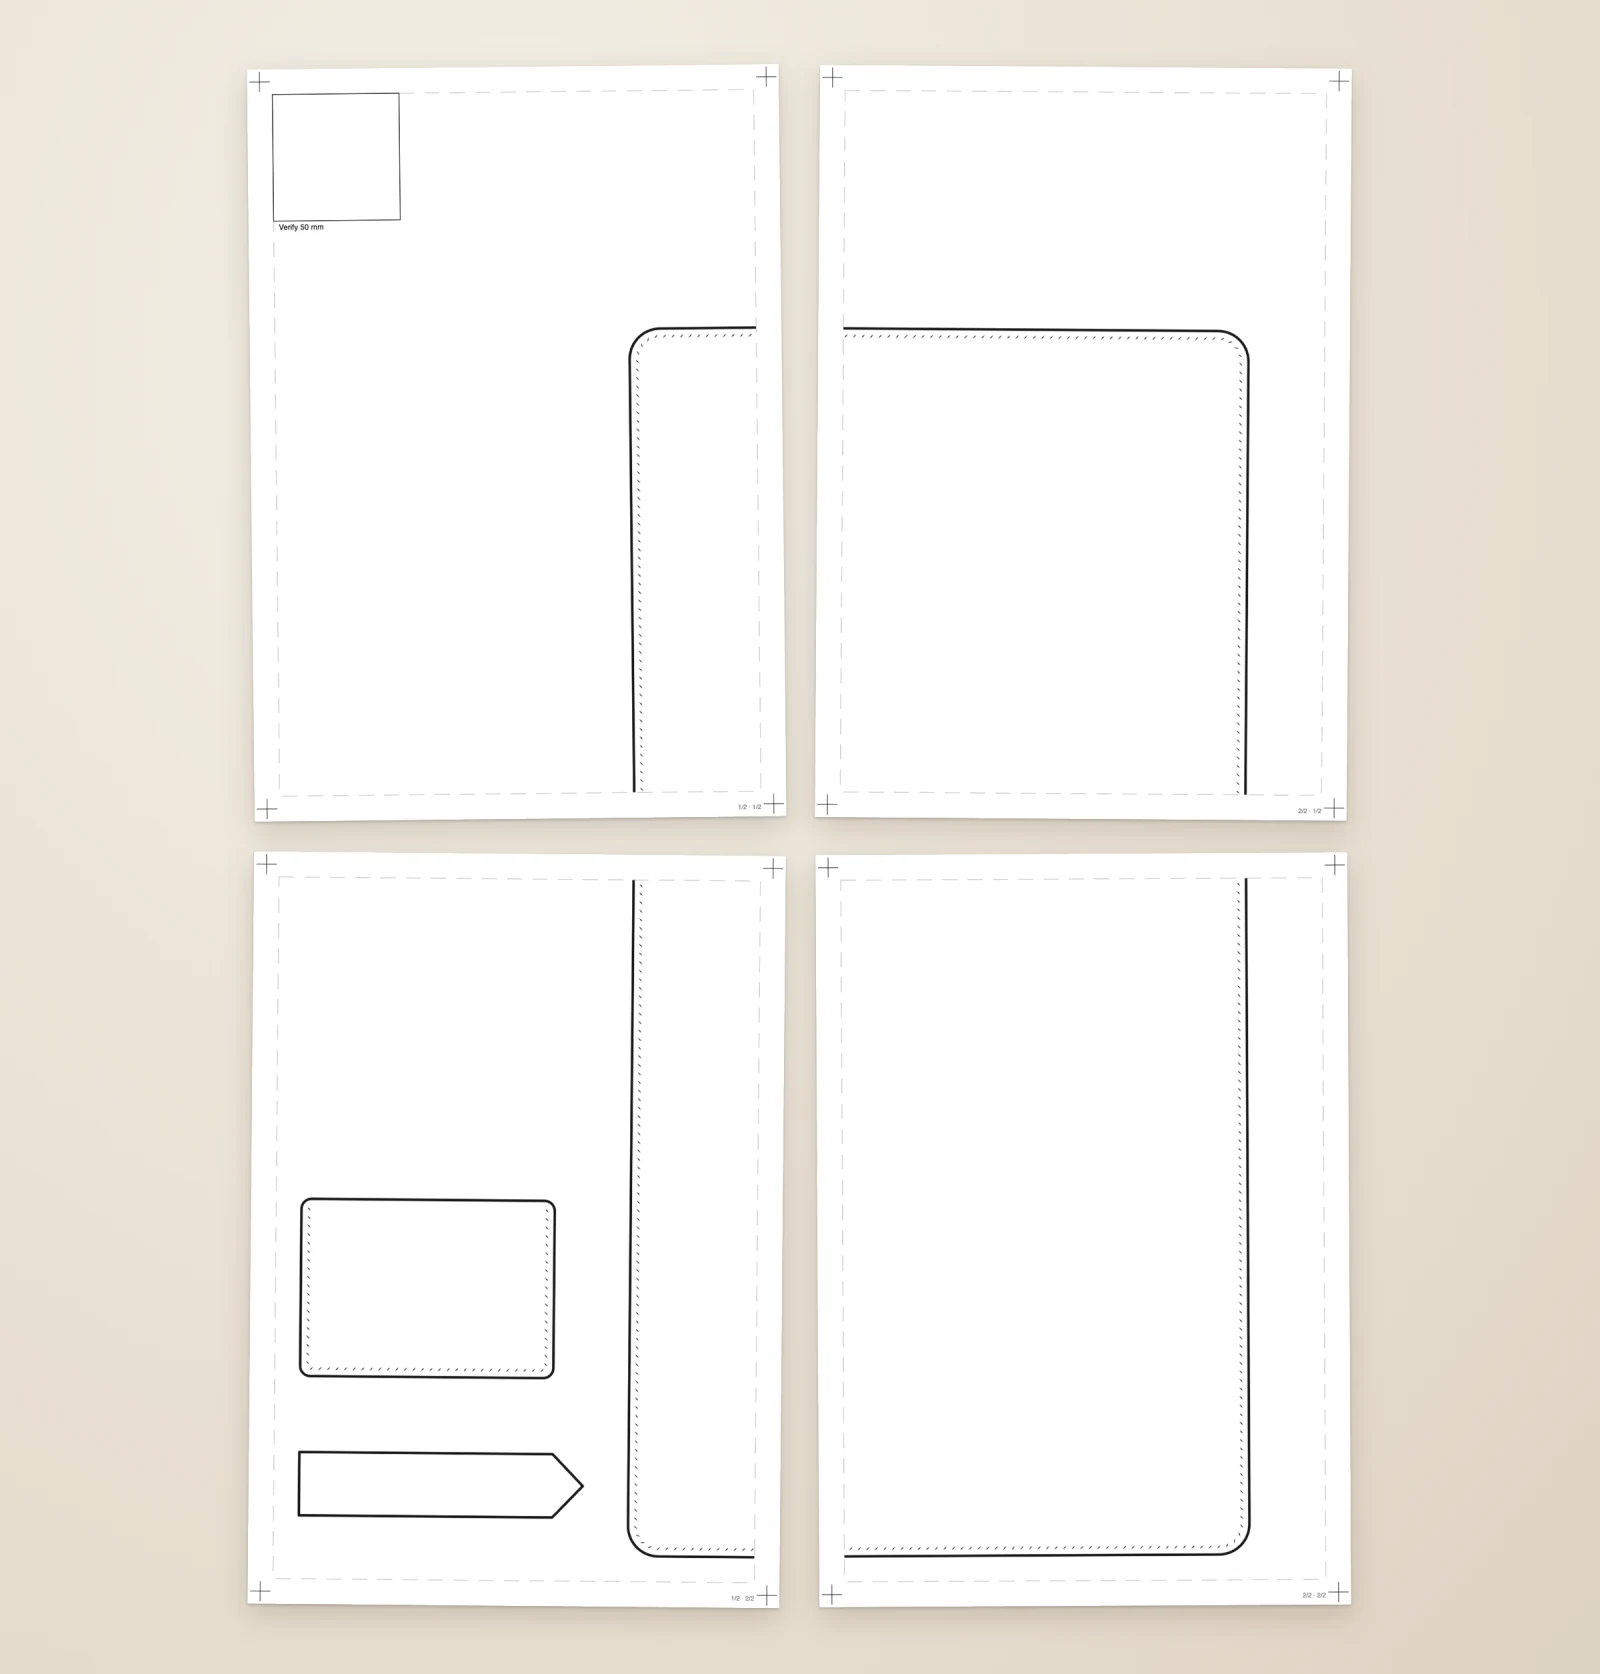
Each tiled sheet has a dashed border 10 mm in from the edge, and the pattern is printed inside it. The small label at the bottom right says where the sheet goes: 2/3 · 1/2 is the second column of three, in the first row.
- Lay the sheets out in rows by their labels.
- Where two sheets meet, cut one of them along its dashed border.
- Lay the cut edge on the other sheet’s dashed border so the lines of the pattern run on, and tape the sheets together on the back.
What is printed
- Every part on a visible layer, in its own line colour. Parts on a hidden layer are left out.
- Stitch holes in their shape, hardware with its holes, and text.
- Fold lines as dash-dot lines, and cutouts with diagonal hatching.
- Images only if their Include in PDF is on. Pages of an imported PDF are off unless you turn it on.
- The 50 mm square, on the first page.
The grid, the selection and other helpers on the canvas are never printed.
Print the sizes
To print a part with its sizes written on it, select it and tick Show measurements in its properties. Then, under Dimensions in the Export panel, tick Print dimensions.
Watermark
Signed in, you can stamp your shop name or logo faintly across every page, so a pattern you share carries your name. It is faint enough to cut from.
- In the Export panel, click Configure… next to Watermark, or pick Watermark… in your account menu.
- Choose Text and type it, or Image and pick one of your uploaded images.
- Set the Density and the Size, check the preview, and click Save.
It is kept in your account and applies to every export while Apply on this export is ticked.
Something missing or unclear? Write to support@easypatt.com and it gets fixed.